Easy DIY Guide to Making Colorful Bath Bombs at Home
- Shotfeet Emporium

- Oct 2, 2025
- 3 min read
Bath bombs can transform any bath into a unique experience. They not only add pizzazz to your soak but also help you relax. Imagine filling your tub with fizzing colours and soothing scents; it's a simple yet effective way to pamper yourself. Making bath bombs at home is easier than you think. This guide will help you create your own vibrant bath bombs with step-by-step instructions and useful tips.
What Are Bath Bombs?
Bath bombs are compact mixtures that dissolve in water, releasing delightful fragrances and colours. They typically include baking soda, citric acid, and essential oils. When they hit the water, a fizzy reaction occurs, making baths visually appealing and skin-nourishing. For example, a study showed that adding Epsom salts, often included in bath bombs, can help reduce muscle soreness by 28%.
Ingredients You Will Need
To craft your bath bombs, gather the following ingredients:
1 cup baking soda: The key ingredient for fizz.
1/2 cup citric acid: This ingredient causes the fizzy reaction.
1/2 cup Epsom salt: Great for muscle relaxation and stress relief.
2.5 tablespoons of oil: Coconut oil or olive oil works well for skin moisture.
Essential oils: Use scents like lavender (calming), eucalyptus (refreshing), or lemon (uplifting).
Water soluble dyes and mica powders: Optional, but it adds fun colours to your bath bombs.
Moulds: You can find silicone or specialised bath bomb moulds easily.
Step-by-Step Instructions
Step 1: Prepare Your Workspace
Start by clearing a clean, dry table. Gather all your ingredients and tools to streamline the process.
Step 2: Mix the Dry Ingredients
In a bowl, blend the baking soda, citric acid, and Epsom salt using a whisk. This ensures the ingredients are evenly mixed and clump-free.

Step 3: Combine the Wet Ingredients
In another bowl, mix the oil, essential oils, and food colouring. If you want a variety of colours, divide this mixture into smaller bowls for different shades.
Step 4: Combine Wet and Dry Ingredients
Gradually pour the wet mixture into the dry ingredients, mixing slowly. This minimises premature fizzing. If added too quickly, the reaction can start before you're ready.
Step 5: Test the Consistency
Take a handful of the mixture and squeeze it. If it holds its shape, you’re ready! If it crumbles, add a few drops of water—be careful not to oversaturate.
Step 6: Pack the Mixture into Moulds
Once you're happy with the consistency, pack the mixture into your moulds tightly. This will help them hold their shape once dried.
Step 7: Let Them Dry
Allow the bath bombs to dry for a full 24 hours. For best results, leave them in a cool, dry place. Afterward, gently remove them from the moulds.

Step 8: Store Your Bath Bombs
Store the dried bath bombs in an airtight container. This keeps them fresh and ready for your next bath. Wrapping them for gifts adds a delightful touch.
Tips for Customisation
Play with Scents
Making bath bombs is all about personalisation. Blend essential oils or try Shotfeet fragrance oils to discover new scents. For instance, combining sandalwood and vanilla offers a warm, cozy fragrance that many love.
Use Colorants
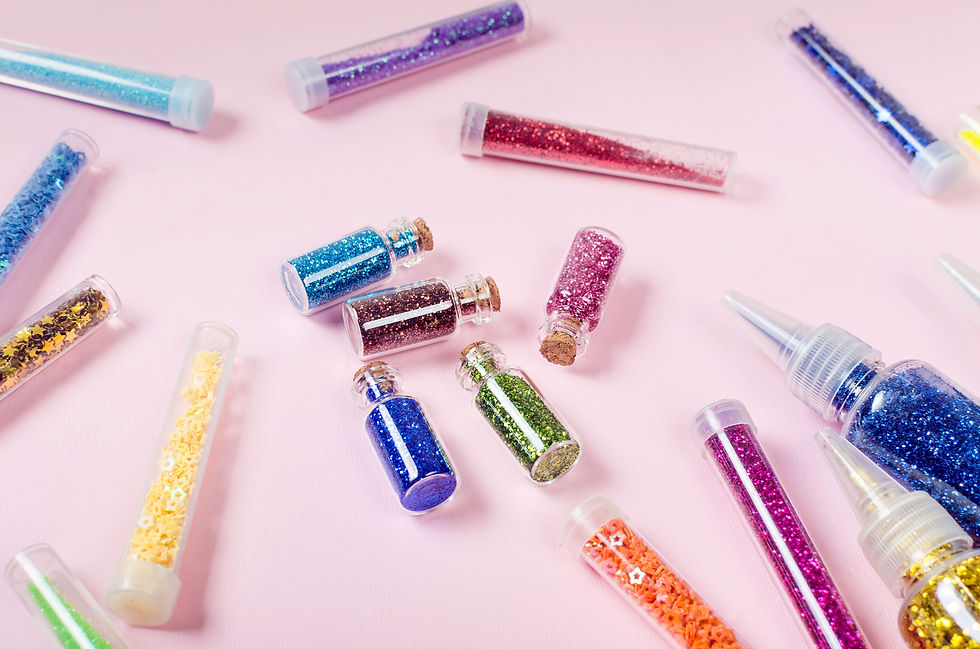
Using Shotfeet water soluble dyes for a popping colour and mica powders to give a sparkle, you will soon have eye popping stunning bath bombs. These options are skin-safe and provide beautiful colours without artificial ingredients.
Troubleshooting Common Issues
Bath Bombs Crumbling
If the bombs crumble when you handle them, it usually means they're too dry. When mixing, start with a small amount of wet ingredients and check the consistency frequently.
Fizzing Too Early
If you observe fizzing while mixing, it indicates that the wet ingredients were added too fast. Next time, take your time during this step to avoid premature reactions.
Color Bleeding
If colours blend together, it may be due to excessive moisture. Ensure your molds are perfectly dry and don’t add too much liquid to the mixture.
Final Thoughts
Creating your own colourful bath bombs can be a rewarding experience. With just a few ingredients and some creativity, you can craft bath bombs that suit your tastes. They make perfect gifts and are a great way to treat yourself after a long day. So gather your supplies, let your imagination soar, and enjoy the delightful experience of your very own homemade bath bombs!


Comments